- HubPages»
- Arts and Design»
- Crafts & Handiwork»
- Textiles
DIY Ombre Tights Tutorial
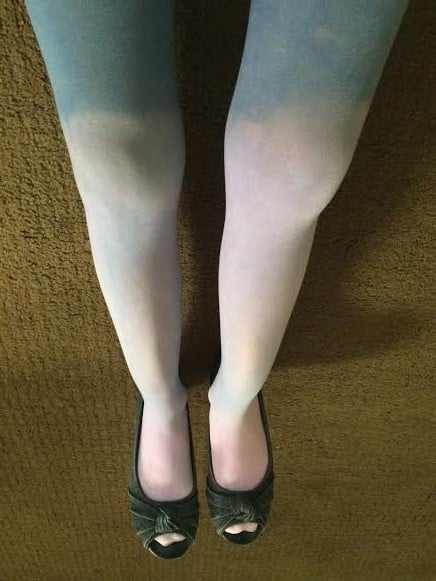
If you are into fashion and beauty you have probably heard the word “ombre” thrown around a lot lately that has been incorporated into everything from clothing and nail color to home decorating and hair color. If you are crafty or looking for a fun and easy weekend project to create a cute pair of tights to accessorize any outfit, this tutorial is for you!
Fashion tights are the hottest accessory for the fall and winter months, but if you’ve ever shopped online or in stores you know they can come with a hefty price tag. Why buy when you can make designer inspired accessories yourself?
Keep reading below to see step-by-step instructions with photos that describe how to dye your own custom ombre tights that will look great under tunics, with skirts, or paired with cute boots. Great for kids, teens, and women alike you can even make a pair for a friend for their next birthday in their favorite color or for an upcoming holiday in festive hues and tones of your choice!
What's Ombre Anyway?
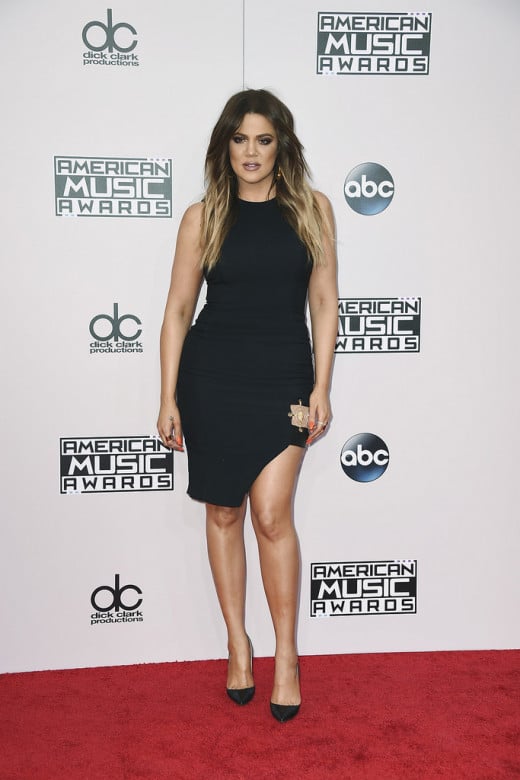
The word “ombre” is used to describe the gradual blending of one color shade into another usually from light to dark or dark to light. You most often see ombre hair styles going from dark roots gradually into light or blonde colored tips or in clothing going from one very light color hue into a dark hue of the same or opposite color.
Khloe Kardashian is among one of many stars who have recently sported the ombre hairstyle. This is a fun trend you can bring from your hair into your clothing to rock a vintage feeling faded look or a brightly colored ombre for days that you need a pick-me-up.
I created a purple/blue ombre effect in this tights tutorial. The great thing about this tutorial is once you learn the tips and techniques, you can create these tights or other items of clothing in several different ombre shades.
Supplies Needed for This Project
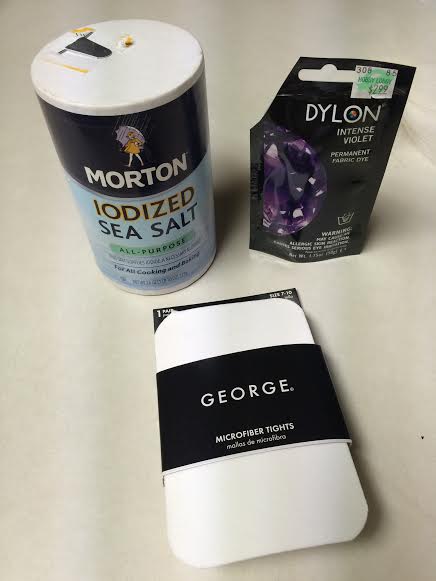
One of the best parts of this project is not only how easy it is but more importantly how few supplies are required! You need to gather just a few things to get started, including the items listed below:
Rubber Gloves
| Dye in color of your choice
| Salt
|
White cotton tights
| Black dye to create dark hues
| Water
|
Once you have all of your supplies together, let’s get started!
Step 1 – Prepare your First Color
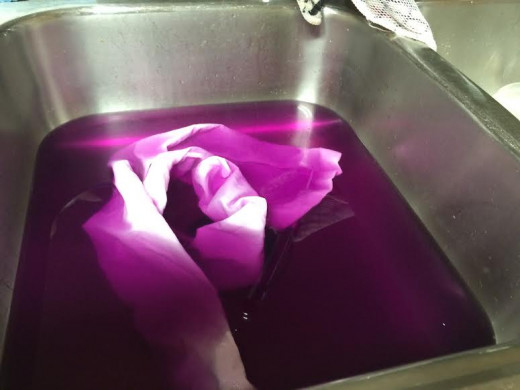
You will start by preparing your first color. One box of dye should be plenty to complete this project. I purchased a black dye in addition to purple for this tutorial to help deepen the color for the darker ombre effect.
Dyes that work well for this project include:
- Jacquard Acid brand
- RIT brand
Check the package to make sure the dye will take to the type of fabric of your opaque tights (i.e. cotton, polyesters, etc.)
You should prepare the lightest hue first to dye the entire length of your tights. I used my stainless steel kitchen sink to prepare the dye. If you do not have stainless steel, you may want to consider using a bucket for your dye that you will not need to reuse as the dye will likely stain most things it comes into contact with.
Prepare the dye color following the directions on the back of your dye package. I used RIT brand which advises you to fill your sink or container with warm water, add 8 TBSP salt, and as much dye as you want for your first color.
Have you tried to dye fabric before?
Tips!
- A little dye can go a LONG way so start by slowly tapping the color from the package into the water. Add the salt and swirl around with your glove until you see the right color.
- It can be hard to see the exact color in the sink or if you are using a dark container so use a small plastic bowl or cup to scoop up some of the dye tinted water so you can see exactly what the hue looks like.
- Stir and swirl generously until all the dye has dissolved and the salt has disappeared into the water to ensure consistent color before dipping your fabric.
Once your dye is ready to go, move onto Step 2!
Step 2 – Prepare your tights
Once you have your lightest color dye prepared, it’s important to prepare your tights. I recommend buying white or very light colored cotton tights. Not only will the dye adhere better, but it will require less color and the tight’s hue will not interefere with the color you are trying to achieve if you start with a white, blank canvas.
Look for opaque tights when shopping. You may want to consider picking up an extra pair if you want to make more than one color or as a backup in case you make a mistake or do not get the colors right on the first try.
Remove the tights from their packaging and submerge them in cold water, making sure they are completely soaked.
Then, ring them out tightly and continue onto the third step to dye them the first, lightest hue.
Step 3 – Dyeing the First Color
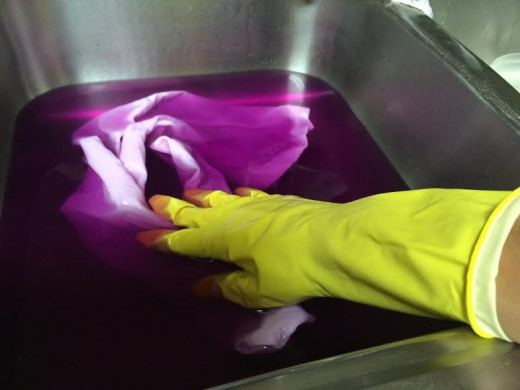
WEAR RUBBER GLOVES! I cannot stress this enough! You will thank yourself in the end for protecting your hands from stains that would not otherwise wear away for several days if your skin comes into contact with the dye.
Also consider changing into an old pair of clothes (or at least an old T-shirt) to protect your nice clothes from haphazard splashes that may occur and leave spots of color on your clothes.
Once the cold water is rung out from your tights, submerge them into your first color of dye. Swirl them around for several minutes. Keep them moving so you get an even first color. After swirling for several minutes I let the tights sit in the first color for almost 30 minutes to ensure the color was well adhered.
Then, remove the tights from the color and rinse again under cold running water. Ring them out while you prepare the second color.
Step 4 – Preparing the Second Color
You will want to make your second color a shade darker than the first. Fill up your sink or container, add 8 TBSP of salt (or follow the package directions depending on what brand dye you are using) and slowly sprinkle in your dye until it looks a shade darker than the first color.
Begin the second color by dipping the top part of your tights (the part that would go around your waist) all the way down to about the ankles (or wherever you want the second color to begin). Allow the tights to sit in the dye for several minutes.
Again, I left mine for up to 30 minutes to make sure the color really stuck. Then, remove the tights and rinse them again under cold water and ring them out to set the color.
Another Gradient Dying Technique
Step 5 – Prepare the Final Color
Now, prepare your final color. For this tutorial I used just 3 shades of dye. If you want a more graduate ombre you can use more shades and simply continue to darken the hue each time you prepare the dye.
Your final color should be the deepest hue. You may find that using a lot of the same color dye does not give you as deep a tone as desired. In that case, sprinkle in a tiny amount of black dye with your color until you get the deep tone you are looking for.
Tip!
- Be careful! The black dye goes a LONG way. A tiny sprinkle can dramatically change the tone of your darkest hue so use sparingly. You can always add more but it’s impossible to take away.
- If you find you made your darkest hue too dark, it’s best to start over mixing your die. Adding more color will not overshadow the black color very easily.
Step 6 – Dry your Color
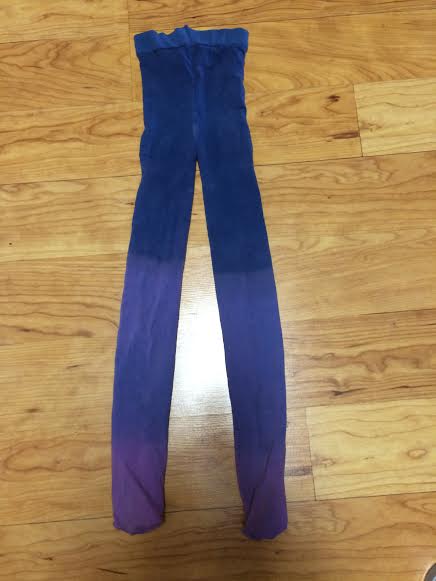
After you submerge your final, darkest color, make sure to again run your tights under cold water, rinse well and allow to dry.
For best results, hang your tights to dry over a drying rack or hang up on a clothes line for even, fast drying. To avoid shrinking or compromise to your color, do NOT put tights in the dryer!
Step 7 - Show Off Those Legs
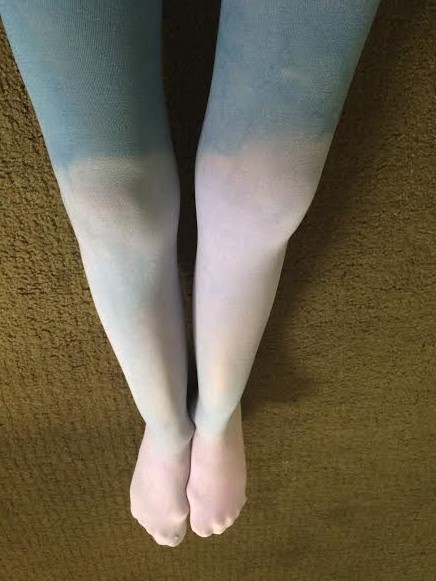
That’s it! You’re done! Now it’s time to show off those legs. Check out my favorite ways to show off my ombre tights below:
With knee high boots
| With a long tunic and flats
| With a mini skirt and long sleeved top
|
With a black dress
| With ankle boots
| With an all-white ensemble
|
Tips for Best Results:
Learn from my mistakes and follow the do’s and don’t’s below to get the best results possible.
Do’s:
| Don’t’s:
|
Follow the dye package instructions
| Forget the tights in the dye too long or you make get darker results than desired
|
Buy opaque tights
| Overuse black dye; less is more to get a darker hue
|
Buy white or light colored tights
| Forget to add salt to the dye and water as directed
|
Allow enough time for each color to adhere
| Forget to wear rubber gloves
|
Allow color to fully dry
| Forget to protect your clothes from splashing
|
Have you ever attempted to dye fabric or clothes? Have you created your own tights or leggings? What did you make? How did it turn out? What’s your favorite way to sport the ombre look? Share in the comments, below!


